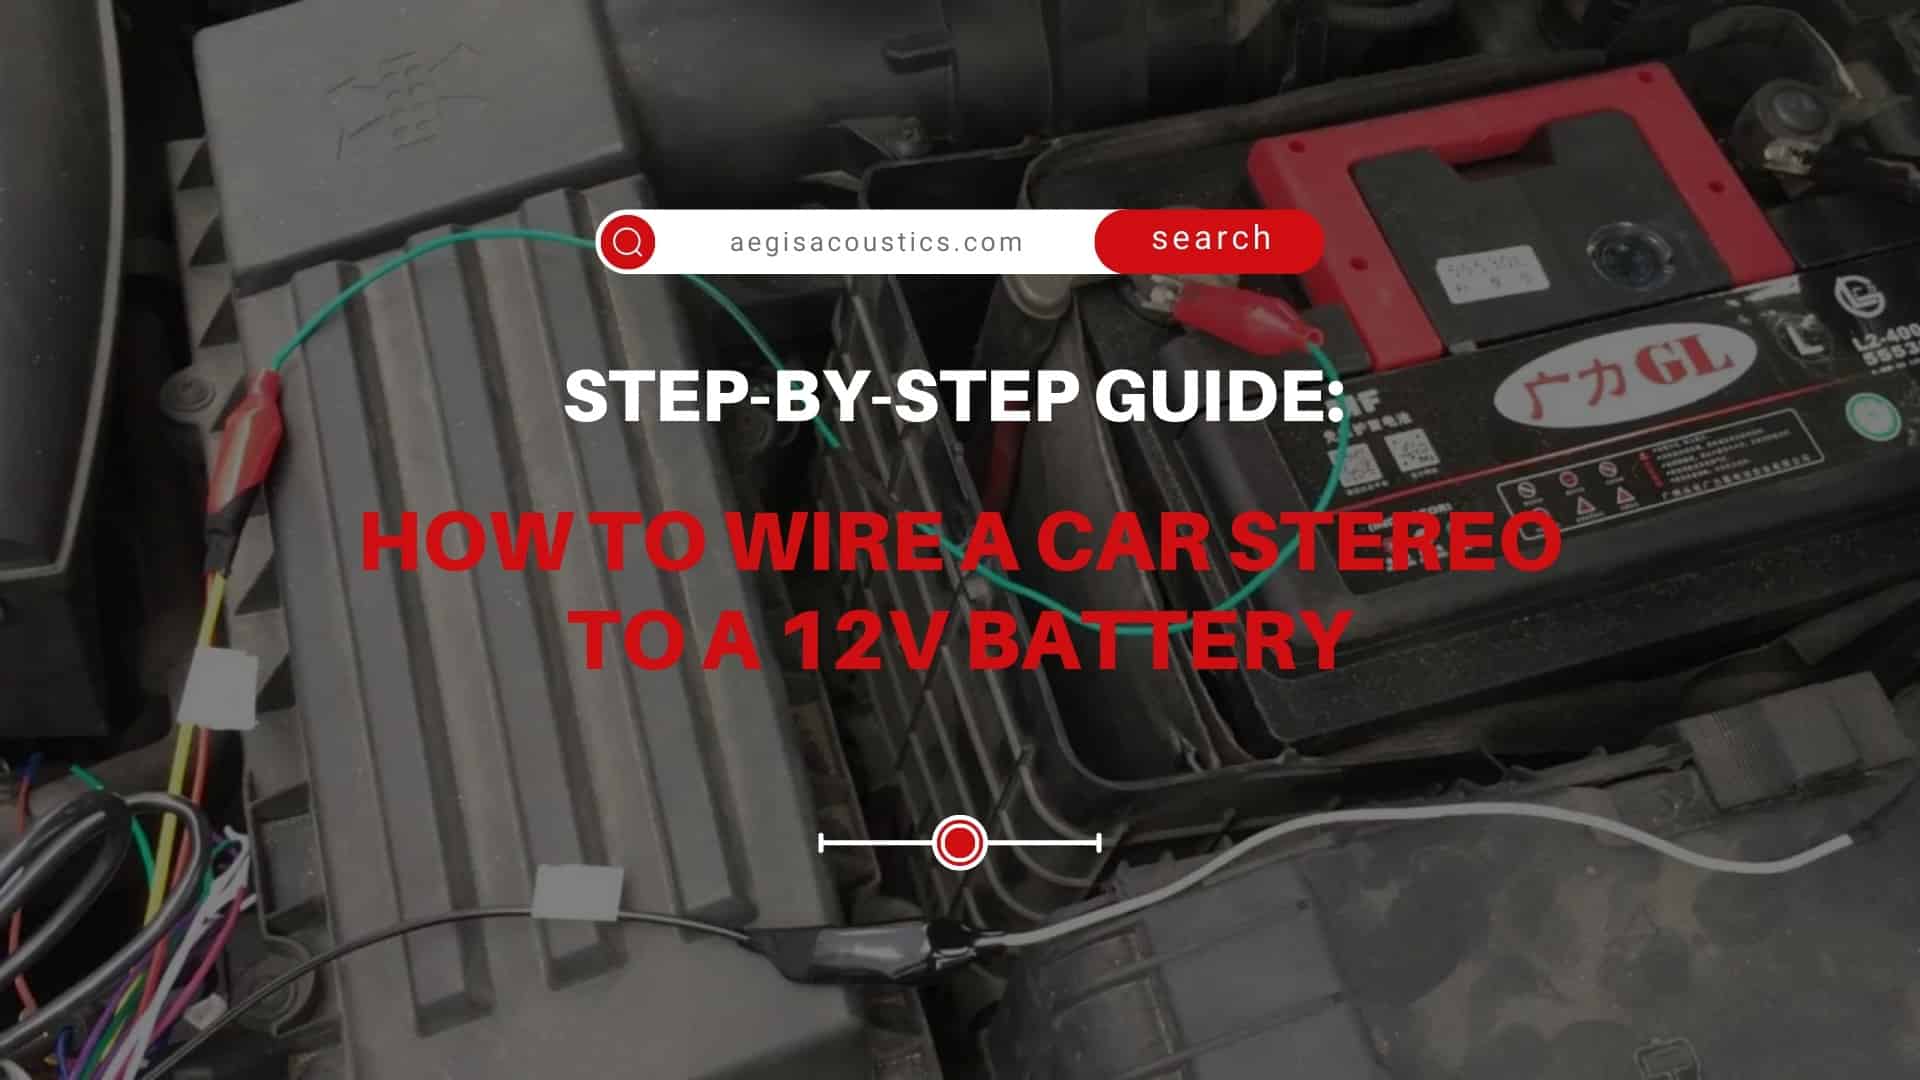
Installing an aftermarket car stereo can be a fun DIY project that allows you to upgrade your vehicle's sound system. But if you want that new state-of-the-art head unit to perform at its best, it pays to follow some basic guidelines when wiring it to your car's electrical system. Do you want to learn how to wire a car stereo to a 12v battery? In this blog post, we will provide you with a step-by-step guide on how to wire a car stereo to a 12v battery.
We will cover the necessary tools and materials needed, how to identify wire connections, and how to attach terminals. While it is possible to connect a car stereo directly to a battery, it is important to note that it will drain the battery quickly, so we will also provide tips on how to avoid this issue.
By the end of this post, you will have all the knowledge you need to wire your car stereo to a 12v battery and enjoy your music without any interruptions.
Step 1: Disconnecting the Car Battery
- Safety First! Before diving into any electrical work, it’s essential to disconnect the battery. This is to ensure both your safety and the safety of the vehicle's electrical components.
- Tools Needed: Wrench
- Locate the car’s battery. Typically, it’s under the hood.
- Start by disconnecting the negative (-) terminal. It’s often black or has a minus (-) sign.
- Then disconnect the positive (+) terminal, which is usually red or has a plus (+) sign.
- Make sure the disconnected terminals don't touch any metal parts of the car to avoid short circuits.
Step 2: Identifying the Wiring Harness and Connectors
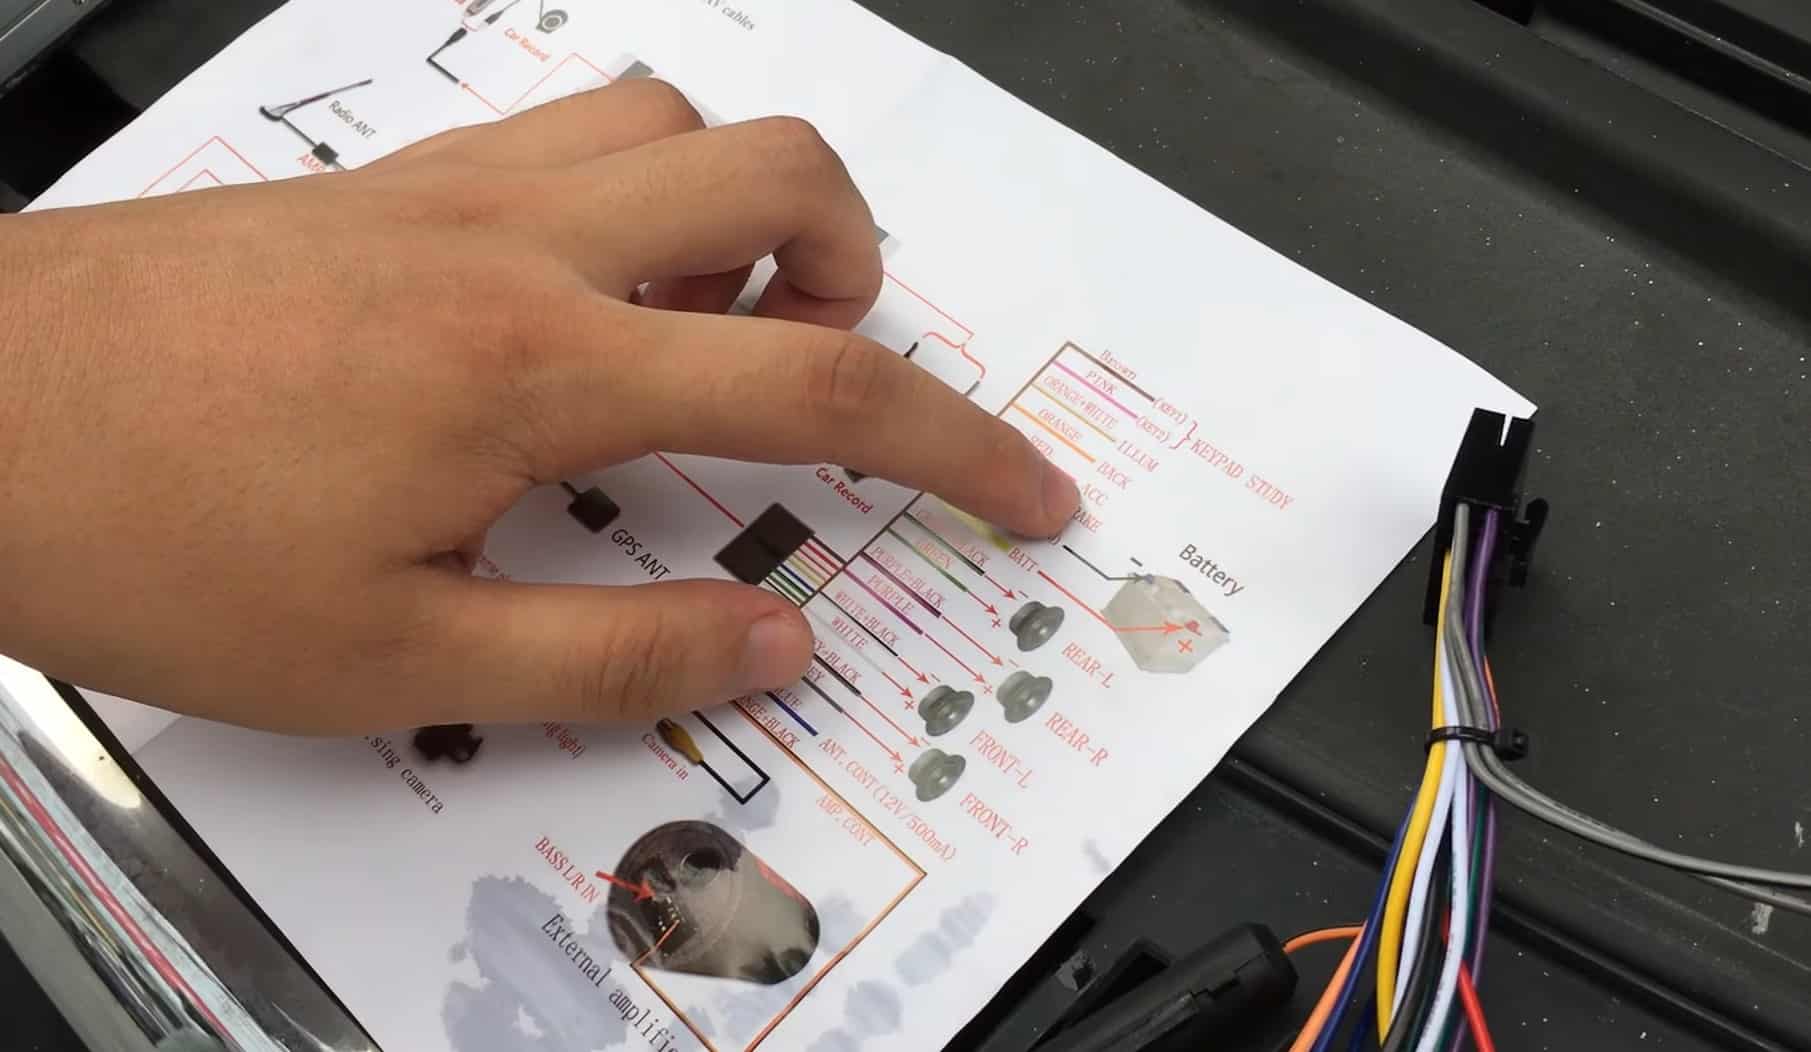
- A wiring harness is a collection of wires bundled together, ensuring proper connections.
- Tools Needed: Manual of the car stereo (if available)
- Look for the color-coded wires. Each color represents a different function (e.g., red might be for power, while black is for grounding).
- It’s ideal to consult the car stereo’s manual or look up the specific wiring diagram online for clarity.
Step 3: Matching the Car Stereo Wiring Harness
- Now, match the wires from the car to the car stereo.
- Tools Needed: Wiring diagram (from the manual or online)
- Check the car stereo wires. They should also be color-coded.
- Match these wires with the ones from your car, using the diagram as a reference.
Step 4: Connecting the Wiring Harness to the Car Stereo
- Once you've matched the wires, it's time to connect them.
- Tools Needed: Wire stripper, wire connectors (like butt connectors or crimp caps), crimping tool or soldering iron, heat shrink or electrical tape
- Strip a small portion of the insulation off the ends of the wires to expose the metal.
- Using the crimping tool, connect the car stereo wires to the matching wires from the harness using the wire connectors.
- For a more secure and lasting connection, consider soldering the wires together.
- Ensure the metal parts of the wires don't touch other wires. Cover each connected pair with heat shrink or electrical tape.
Step 5: Connecting the Wiring Harness to the 12V Battery
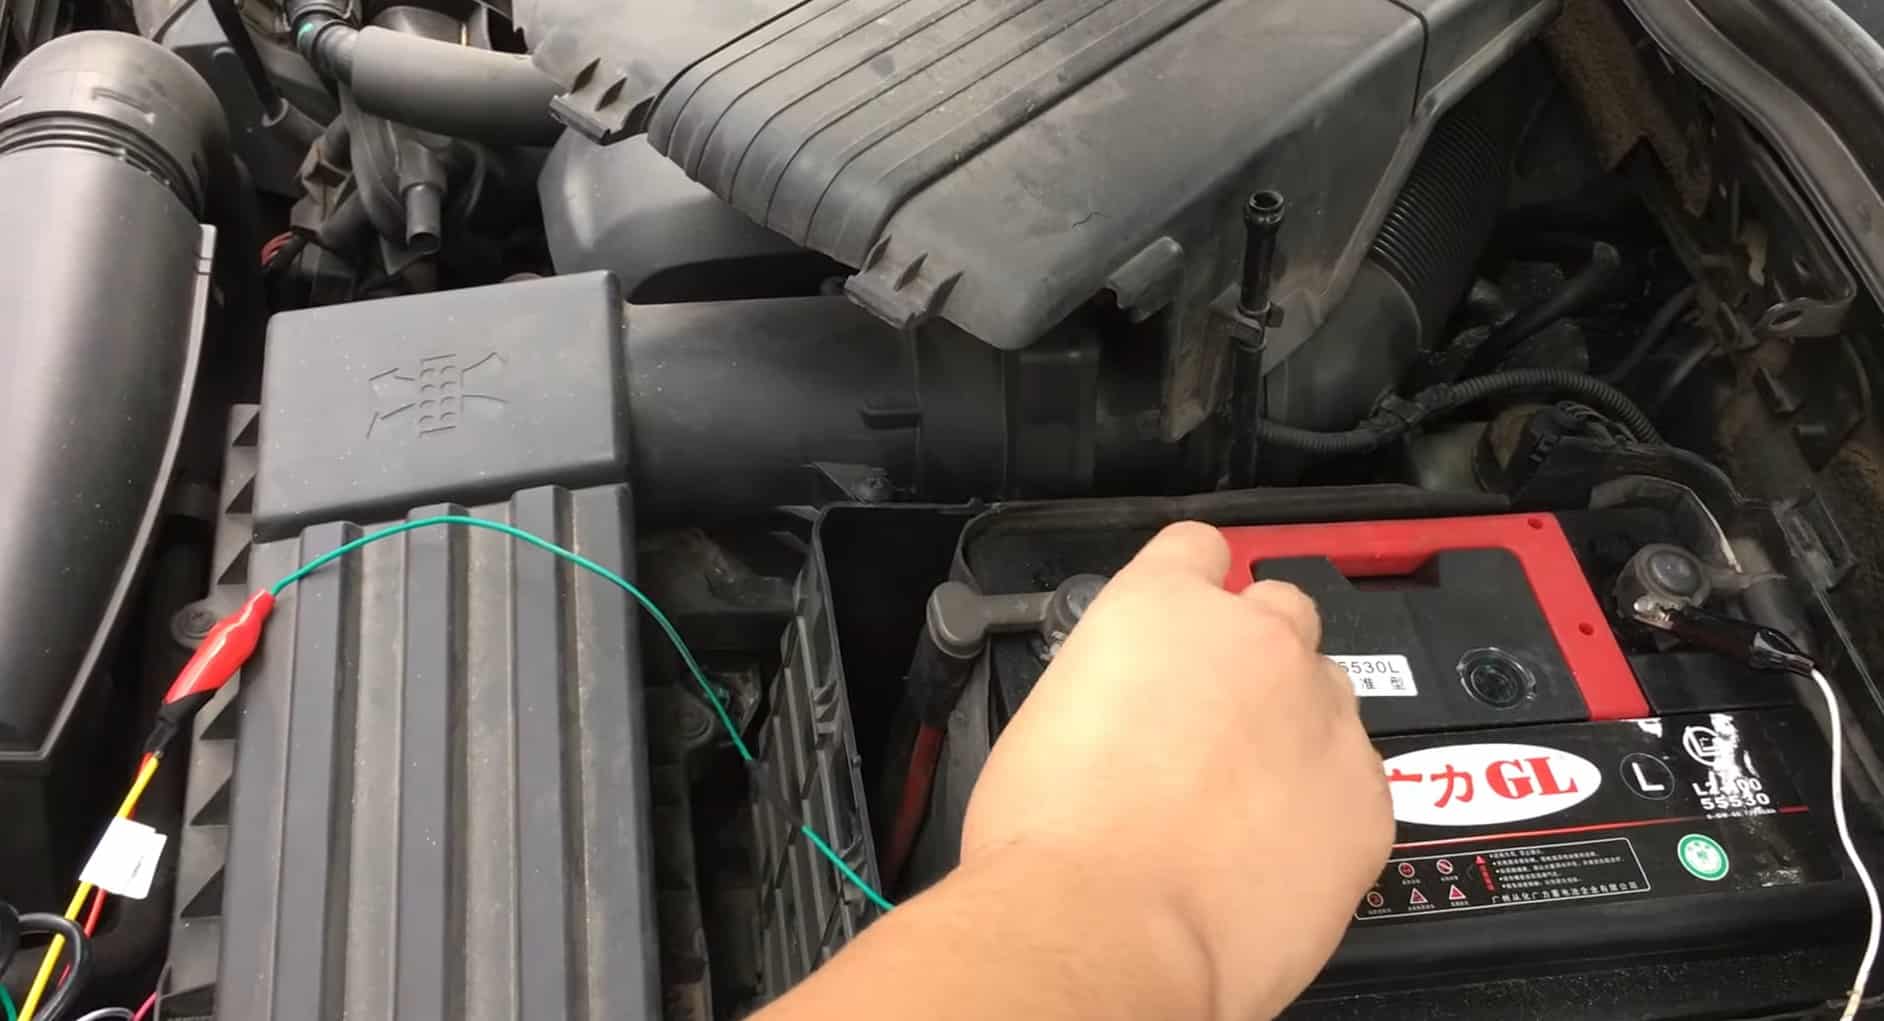
- After connecting the stereo wires, link the harness to the battery.
- Tools Needed: Wrench
- Locate the power wire, usually red, from the harness. Connect it to the positive (+) terminal of the battery.
- Next, find the ground wire, often black or brown. Connect it to the negative (-) terminal of the battery or a clean metal ground point in the car.
Step 6: Testing the Connection and Troubleshooting Tips
- Once everything is connected, it's time to test.
- Tools Needed: None (just your ears!)
- Reconnect the car battery, starting with the positive (+) terminal and then the negative (-).
- Turn on the car stereo. If it powers on and you hear sound, congratulations!
- If it doesn’t work, check all connections for any loose wires or missed connections. Also, make sure all the wires are connected to their corresponding colors.
- Double-check that the ground wire is properly grounded.
- Inspect for any exposed wires and cover them with electrical tape.
Common Mistakes to Avoid When Wiring a Car Stereo to a 12V Battery
Just like in any DIY project, wiring a car stereo can seem deceptively simple, but the devil's often in the details. Even the most experienced of us can slip up and make errors that jeopardize our vehicle's functionality or, more importantly, our safety. Let's dive into the common pitfalls to ensure you wire your car stereo efficiently and safely.
-
Incorrect Wiring Harness Compatibility
It’s easy to assume that all wiring harnesses are the same. However, using an incompatible harness can lead to malfunctions. Always ensure the harness is compatible with both your car model and stereo type.
-
Poor Wire Connections and Insulation
Loose connections or poor insulation can cause sporadic function or even a short circuit. Ensure every connection is secure and all exposed wire is appropriately insulated.
-
Inadequate Wire Gauge and Length
Using a wire that's too thin or too short can lead to issues in power delivery and potential risks. Always ensure your wire is of adequate gauge and length for your specific setup.
-
Improper Grounding and Noise Issues
Grounding is vital for any electrical setup. Poor grounding can lead to electrical noise and interference in your audio, not to mention the potential risk to other electrical components in your car.
-
Neglecting Safety Precautions
Skipping safety steps, like not wearing gloves or working in a wet environment, can lead to dangerous situations. Safety should always be your top priority.
-
Overlooking Testing and Troubleshooting
It's tempting to wrap up a job once everything looks connected. However, not testing your connections can lead to missed issues. Always test every function of your stereo after installing.
-
Ignoring Wire Organization and Securing
Loose wires aren’t just unsightly; they can be hazardous, getting caught in other parts of the car or wearing out prematurely. Proper organization and securing of wires can prevent these issues.
-
Skipping Proper Battery Disconnection
Jumping straight into the job without disconnecting the battery can be risky. Always disconnect your battery, starting with the negative terminal, to ensure safety.
Mastering the Art of Car Stereo Wiring: A Recap
Through our exploration of wiring a car stereo to a 12V battery, we've delved deep into the nuances that make for a successful and safe setup. From understanding the pivotal role each component plays, to meticulously ensuring each connection is spot-on, this guide has hopefully shed light on the intricacies of car audio installation.
Key Takeaways:
- Prioritize Safety: Always begin by disconnecting the car battery and using the proper safety equipment. Your well-being is paramount.
- Understand Compatibility: Ensure the wiring harness is suited to both your car and stereo to prevent potential malfunctions.
- Quality over Quick Fixes: Whether it's the gauge of wire or the strength of connections, invest time and resources in quality components and practices.
- Grounding is Essential: Proper grounding isn't just about avoiding audio noise; it safeguards the entire electrical system of your vehicle.
- Testing is Crucial: Don’t rely on visual checks alone. Post-installation testing can catch issues before they become larger problems.
- Organization Matters: Keeping your wiring neat isn't just for aesthetics. It's a key component of safety and functionality.
In conclusion, while the task of wiring a car stereo might initially seem daunting, with the right knowledge and attention to detail, it becomes an achievable and rewarding endeavor. By steering clear of common pitfalls and maintaining a systematic approach, your drives will soon be accompanied by crisp, clear music. So, whether you're cruising down highways or stuck in traffic, your journeys will always hit the right note! Safe driving and happy listening!